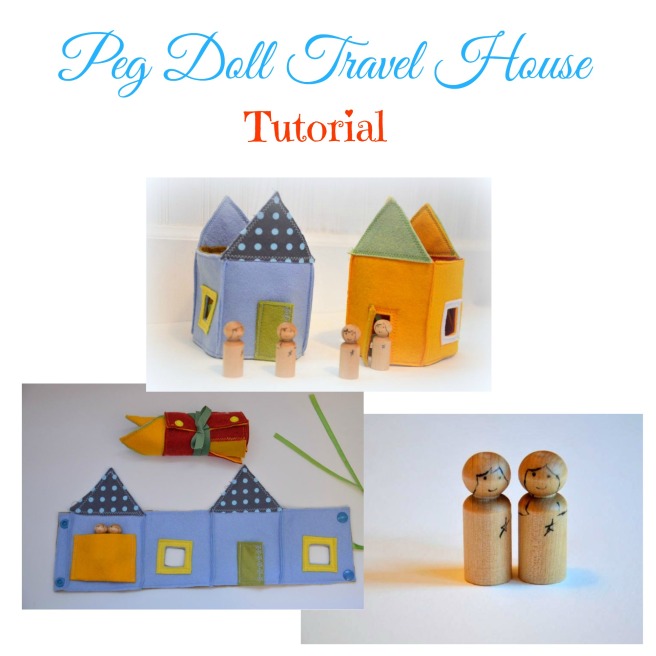
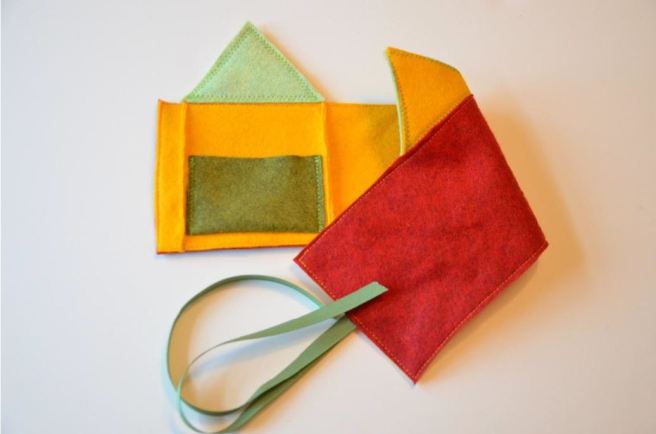
Here’s a little tutorial for a travel toy I designed a couple of years ago. The idea behind it was pretty simple, I wanted something small that I could keep in my purse for when my kidlets and I were in the car or at the grocery store or doctor’s office, or anywhere that their weak little attention spans could no longer handle.
Like a lot of people, I have a little crush on peg dolls. I just love how little and solid they are. So I decided to make a simple playhouse for them to play in and it really did amuse my kids for a decent chunk of time.
Instructions
Supplies Needed:
-two small peg dolls (the ones used here are around 1.75 inches tall)
-fine felt tipped marker and beeswax/olive oil for dolls
-felt for the following (I use wool blend felt but you could use 100% wool or acrylic):
main house colour
windows
door
roof
inside lining
back pocket
-a 25″ piece of ribbon for tying
-snaps or Velcro
-pins/scissors/washable fabric marker
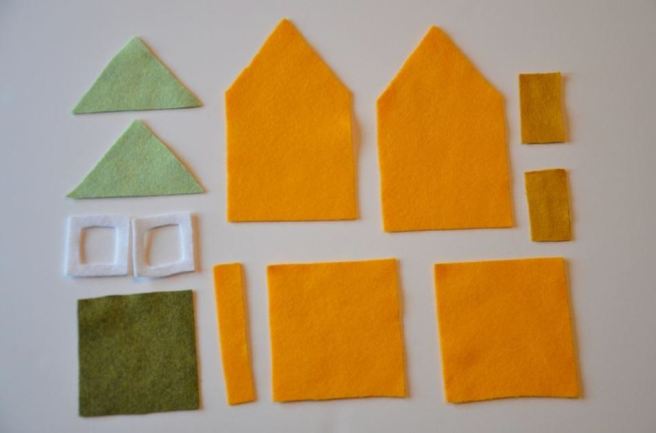
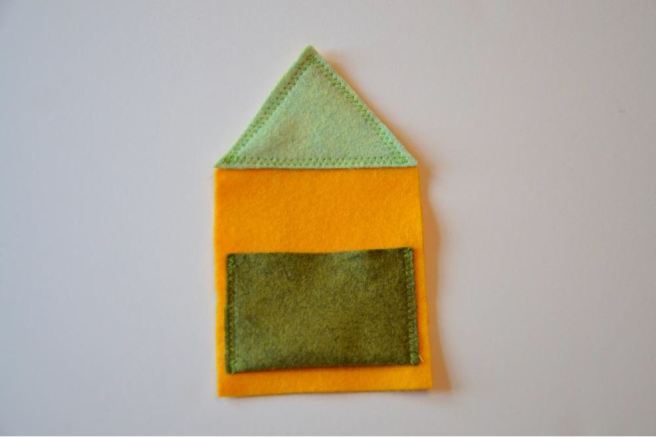
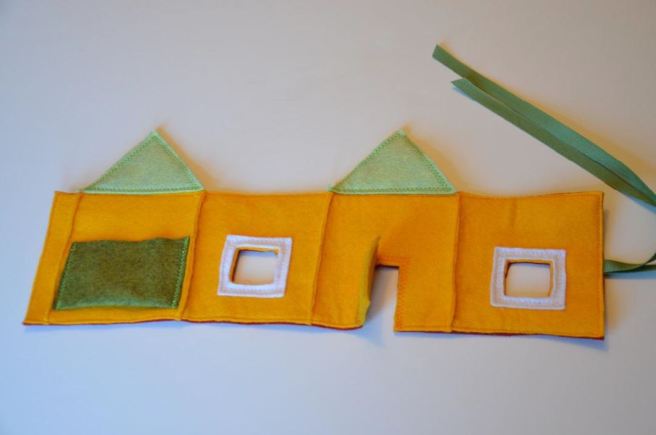
1. Print the attached pattern pieces. Trace and cut two copies of the main house piece and the side wall piece as well as one copy of the overlap piece out of your main colour. Trace and cut two copies of the roof out of your roof colour. Trace and cut two copies of the door out of your door colour. Trace and cut two copies of the window out of your window colour. Trace and cut one copy of the back pocket. You should have the following:
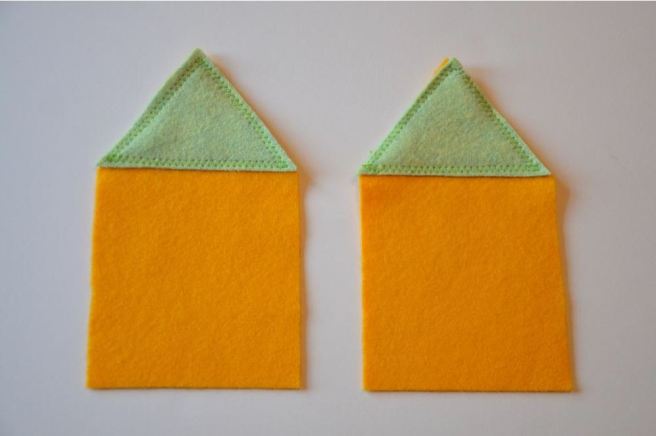
2. Sew the two roof pieces onto the front and back of the house.
3. Fold the back pocket over one third of the way up and sew to the back of the house as shown.
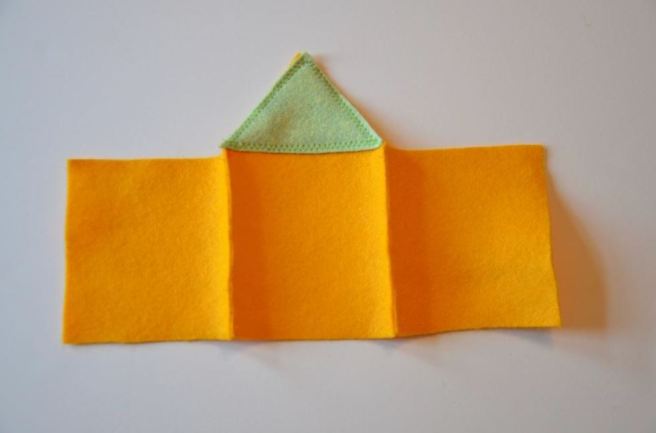
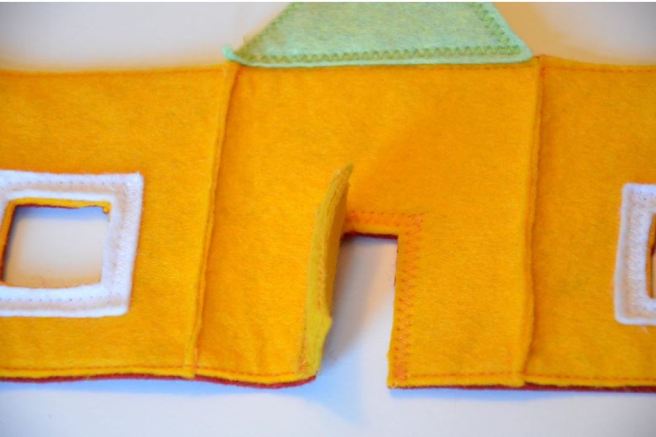
4. With wrong sides together, sew one side piece to each side of the front piece as shown, try and keep your stitches as close to the edge as possible while still being secure.
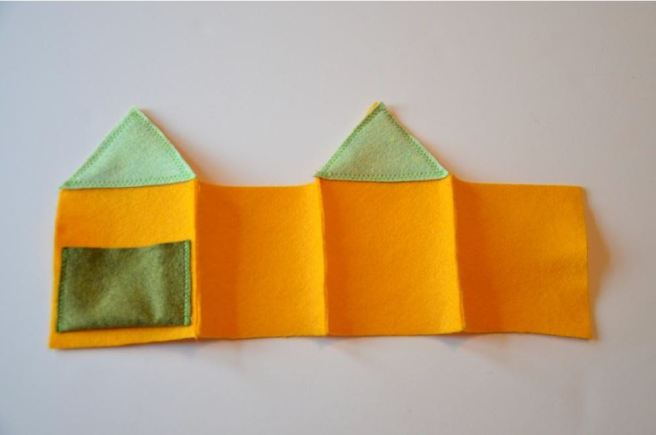
5. Sew the back piece to one of the side pieces as shown.
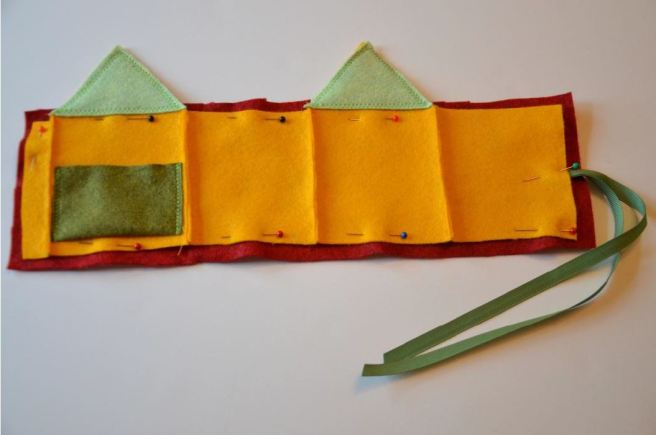
7. Lay the house flat, wrong side down, and pin to the sheet of inside lining.
8. Fold the ribbon in half and tuck it into the exposed side of the house as shown, pin to secure.
9. Cut around the house, leaving some extra fabric so the next step is easier to do.
10. Sew around the entire house, close to the edge, be sure to sew in some extra stitches when you go over the ribbon so it is nice and secure. Trim the lining even with the front side of the house.
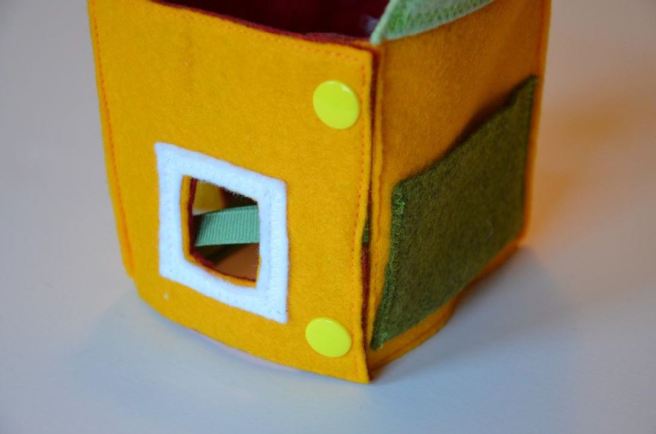
11. Sew one window on each side. Cut out an opening in each window.
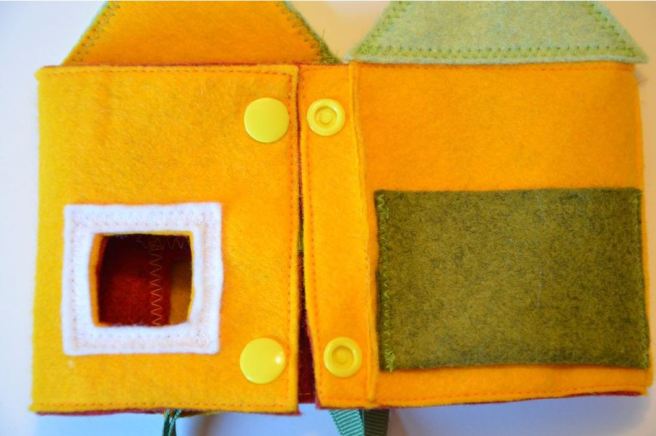
12. Sew the two door pieces together around all four sides. Sew one side of the door to the front of the house. With a washable fabric marker, trace the door onto the main fabric and sew around the inside of the line as shown. Cut the opening for the door.
13. Place two snap tops on the open side of the door and two snap backs on the overlap piece, making sure to line them up so they will snap together.
14. Now that the house is finished, it’s time to design the people! I like to make a guy and a girl and to give them hair and a face with the fine tip marker. You could make sisters or brothers or whatever you like. I also coat mine in beeswax and olive oil to make them nice and smooth and water resistant. To make it, you simply melt a bit of beeswax and mix it with an equal part of olive oil. It will cool down and make a polish that you can then apply with a rag and rub off any excess with paper towel. You could also paint them with acrylic paints if you prefer and then coat them with varnish.
15. Once the people are dry you can tuck them in the little pocket and roll them up or you can snap the house together and play!
I hope you enjoy!

Love this idea how sweet
LikeLike